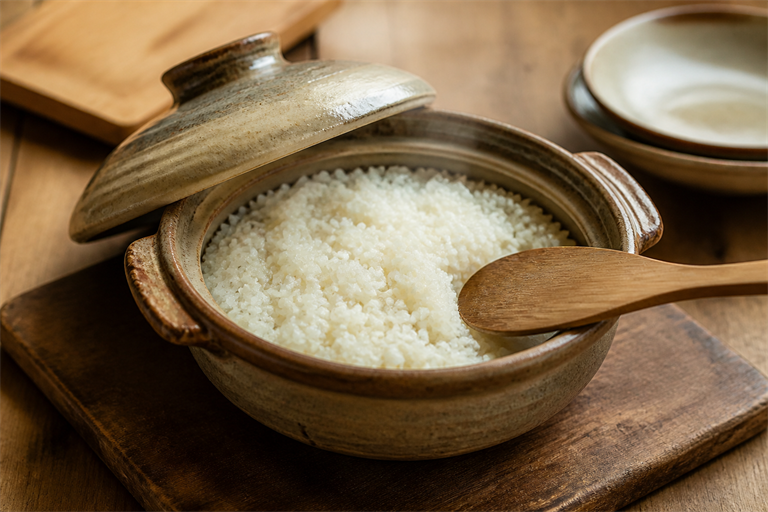
The grains you want are glossy, slightly translucent at the edge, sitting apart on the spoon without collapsing into paste. Most home cooks lose this in one of two places: skipping the soak, or lifting the lid during the rest. Both let out the same thing. Steam, which is the whole point.
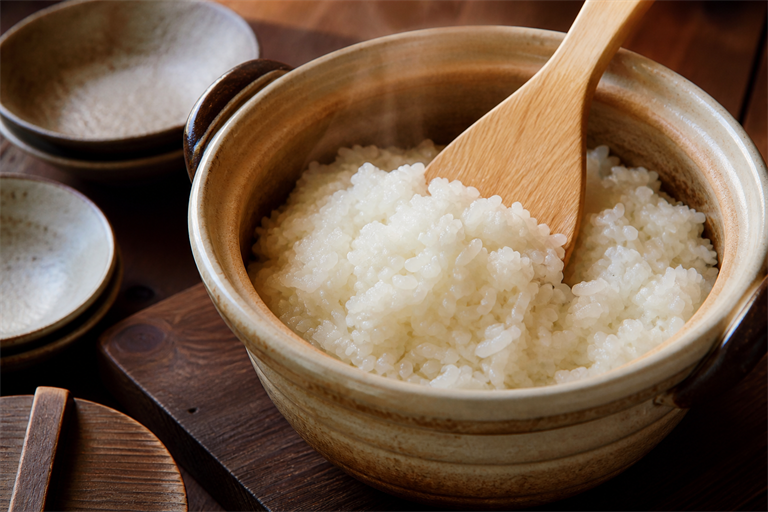
Last Sunday I cooked a pot in my Tokyo kitchen with new-crop Niigata koshihikari (shinmai, milled three weeks earlier): 300 g of rice, 330 ml of water, a 6-go Iga donabe, 30 minutes of soaking, 10 minutes of resting off the heat. The bottom carried a thin, pale crust. The grains on top were separate and shining. That is the dish. Here is how to get there.
Why Short-Grain Rice Behaves Differently
Japanese short-grain rice (uruchimai) is high in amylopectin, the branched starch that gelatinises into something sticky and elastic rather than dry and loose. Long-grain rice is the opposite. You cannot treat them the same way, and you cannot substitute one for the other in this method.
Two details on the bag matter more than the brand name. The polish ratio (seimaibuai) tells you how much of the outer bran was removed; most table rice sits around 90 percent. Lower numbers mean more bran, more water, a chewier grain. The milling date matters because new-crop rice (shinmai, harvested in autumn) holds more internal moisture than aged rice (komai). Shinmai wants less water. Komai wants a touch more. The 1:1.1 ratio I use is for shinmai by weight. For rice milled more than six months ago, I push it to 1:1.15.
Measuring and Rinsing — the Togi Technique
Weigh the rice. Volume measures lie because grains pack differently. 300 g feeds four people as a side, three as the centre of the meal.
Put the rice in a bowl. Cover with cold water and pour it straight off again. The first rinse is the dirtiest, and dry grains drink whatever liquid touches them first, so you do not want them drinking starchy surface dust.
Now the togi step. Drain the rice. With a dry hand, press the grains against the side of the bowl in a gentle raking motion, about twenty seconds. You are not scrubbing. You are knocking loose surface starch by grain-on-grain friction. Add cold water, swirl once, pour it off. Repeat the press-and-rinse cycle three or four times.
Stop when the water is cloudy like weak tea, not when it runs clear. Clear water means you have stripped flavour and some of the surface starch that gives cooked rice its quiet gloss. Modern milling is gentle enough that aggressive rinsing now does more harm than it used to. My grandmother in Kyoto used to say you should be able to see the bottom of the bowl through the water, but only faintly, as if through paper.
Soaking and the 1:1.1 Ratio
Drain the rinsed rice well. Tip it into the pot you are cooking in. Add the cooking water by weight: 300 g rice, 330 ml water for shinmai. For aged rice, 345 ml. In summer the grains soak faster, so I let them sit 30 minutes. In winter, with cold tap water, 45 to 60 minutes.
The soak is not optional. Dry short-grain rice cooks unevenly because the outside hydrates first and gelatinises before the centre catches up. That gives you the chalky-core problem most home cooks blame on heat. It is a hydration problem, not a heat problem.
You can see the soak working. The grains shift from translucent to opaque white. That is starch granules taking on water.
Cooking: Donabe, Heavy Pot, or Rice Cooker
A donabe is ideal because the clay holds and releases heat slowly. A heavy enamel pot with a tight lid works well. A rice cooker also works, and there is no shame in it. The method below is for the stovetop.
-
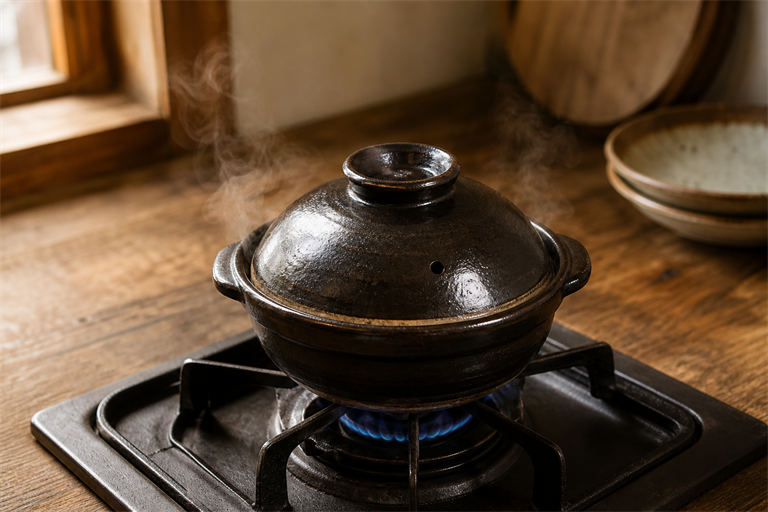
Set the soaked rice and its soaking water over medium-high heat, lid on. Do not stir.
-
Listen for the boil. When you hear a rolling bubble against the lid, around 7–9 minutes in, drop the heat to low. Do not lift the lid.
-
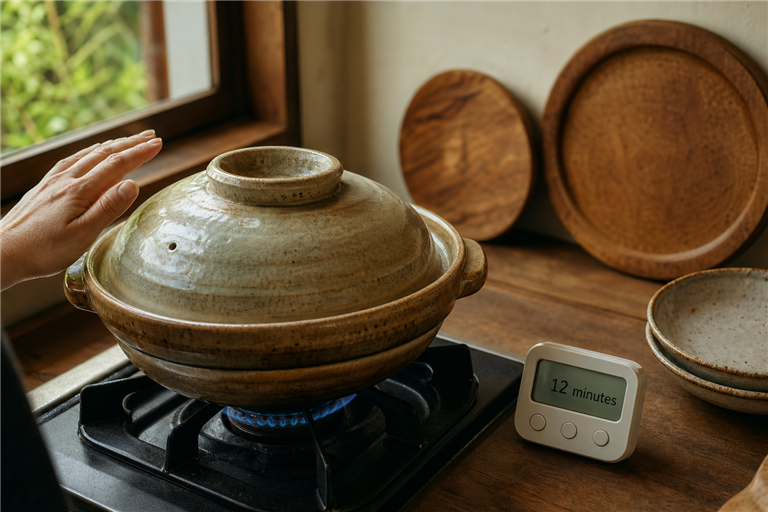
Cook on low for 12–13 minutes. Toward the end you should hear a faint crackle, which is the thin bottom crust forming. If you smell anything close to burning, pull it off the heat at once.
-
Turn the heat off. Leave the lid on. Set a timer for 10 minutes. This is the steam rest, where the rice finishes cooking in its own residual heat. Peeking is the single most common reason for unevenly cooked grains. Do not peek.
-
Lift the lid. Slide a wet shamoji (wooden rice paddle) down the side of the pot, then make light cut-and-fold motions through the rice. You are separating grains and releasing surface steam, not stirring. Twenty seconds is enough.
When It Goes Wrong, and What to Do With Leftovers
A mushy bottom usually means too much water, or heat that stayed too high through the simmer. Next time, drop the water by 15 ml and bring the low-heat phase down a notch. A chalky centre means the soak was too short for the water temperature, or the rice is older than the bag suggested. Add five minutes to the soak and 5 ml to the water.
Day-old rice from the fridge revives beautifully. Sprinkle a tablespoon of water over a bowl of cold rice, cover with a damp cloth or a plate, microwave 90 seconds. The water turns to steam and rehydrates the surface starch that retrograded in the cold. The same forgiving logic applies to fermented sides — a jar of home-fermented baechu kimchi on the side turns a bowl of leftover rice into a proper meal.
Cooked rice keeps three days refrigerated, or freeze it the day you cook it. Portion it warm into flat parcels in plastic wrap, cool on the counter for ten minutes, then freeze. Reheat from frozen, still wrapped, for two minutes in the microwave. Onigiri the next morning is the quiet reward for cooking the pot properly the night before. If you want something hot to spoon over it, a Cantonese stir-fry built on real wok hei or a bhuna-method Punjabi chicken curry both belong on top of a properly cooked pot of short-grain rice.