The first tortilla I pressed on my own landed on my abuela’s comal in Cholula one Saturday afternoon. I was seven. The masa was the color of pale butter, and when it puffed against the hot iron she laughed and said, “ya está, ya respira” (now it breathes). That memory sits in my hands every time I open a bag of masa harina in my own kitchen in Puebla.
Corn tortillas from masa harina are the everyday tortilla of central Mexico: nixtamalized corn flour, water, salt. Two things separate a soft, puffing tortilla from a cracked one. Hydration by weight, and a half-hour rest you cannot skip.
| Yield | 12 tortillas (about 15 cm each) |
| Prep time | 10 minutes (plus 30 minutes rest) |
| Cook time | 15 minutes |
| Total time | 55 minutes |
| Difficulty | Easy |
Ingredients
- 250 g masa harina (Maseca, Bob’s Red Mill, or Masienda; white or yellow corn)
- 275 to 300 g warm water, around 40C (105F)
- 4 g fine salt (about 3/4 teaspoon)
Equipment
- Tortilla press (cast iron, wood, or aluminium)
- Comal, or a heavy dry skillet in cast iron or carbon steel
- Kitchen scale (volume measurements do not work for masa)
- Two squares of plastic, about 18 cm, cut from a freezer bag
- Clean cotton kitchen towel
Mixing and resting the dough
-
Weigh 250 g of masa harina into a wide bowl and stir in 4 g of salt with a fork. Mixing the salt into the dry flour first means it disperses evenly; sprinkled in later, it makes patchy salty spots.
-
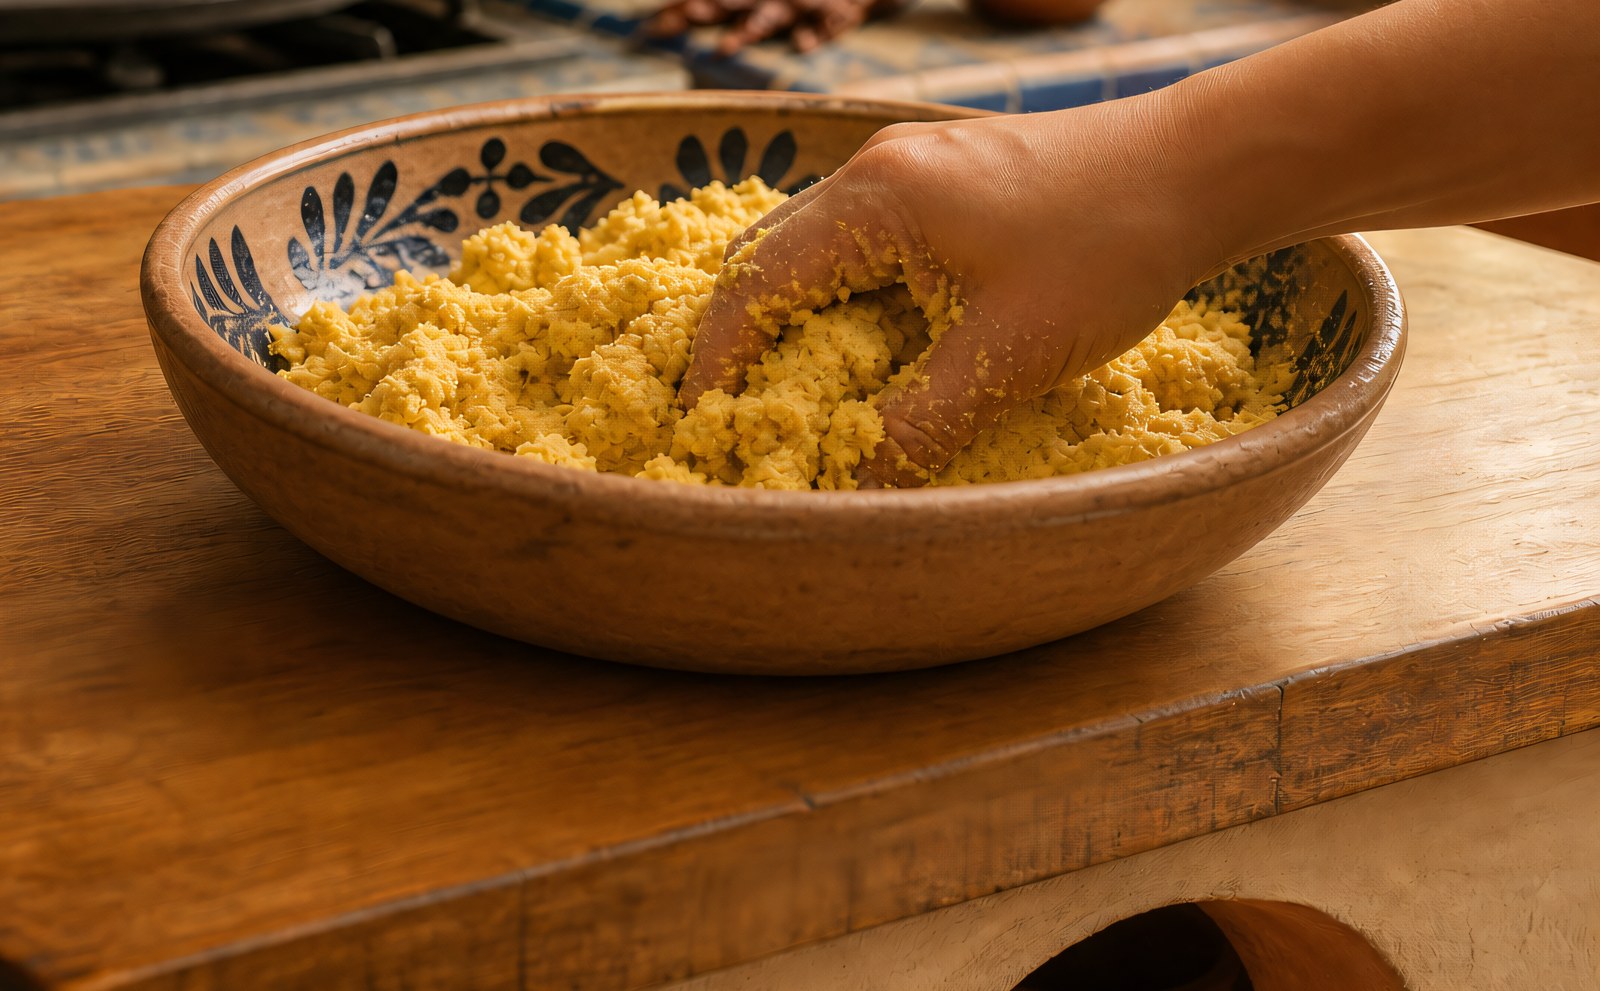
Pour in 275 g of warm water and stir with your fingers until the dough comes together in a shaggy mass. The target ratio is 1:1.1 by weight, climbing to 1:1.2 in dry weather. Masa harina is dehydrated nixtamal, so it drinks more water than wheat flour. Too little and the edges crack. Too much and the dough sticks to the press.
-
Knead in the bowl for 90 seconds, pressing the dough against the sides with the heel of your hand. You are hydrating starch granules evenly, not building gluten (corn has none). Squeeze a small ball: if it stays smooth without cracking around the edges, the hydration is right. If it cracks, add water 10 g at a time, up to 300 g total.
-
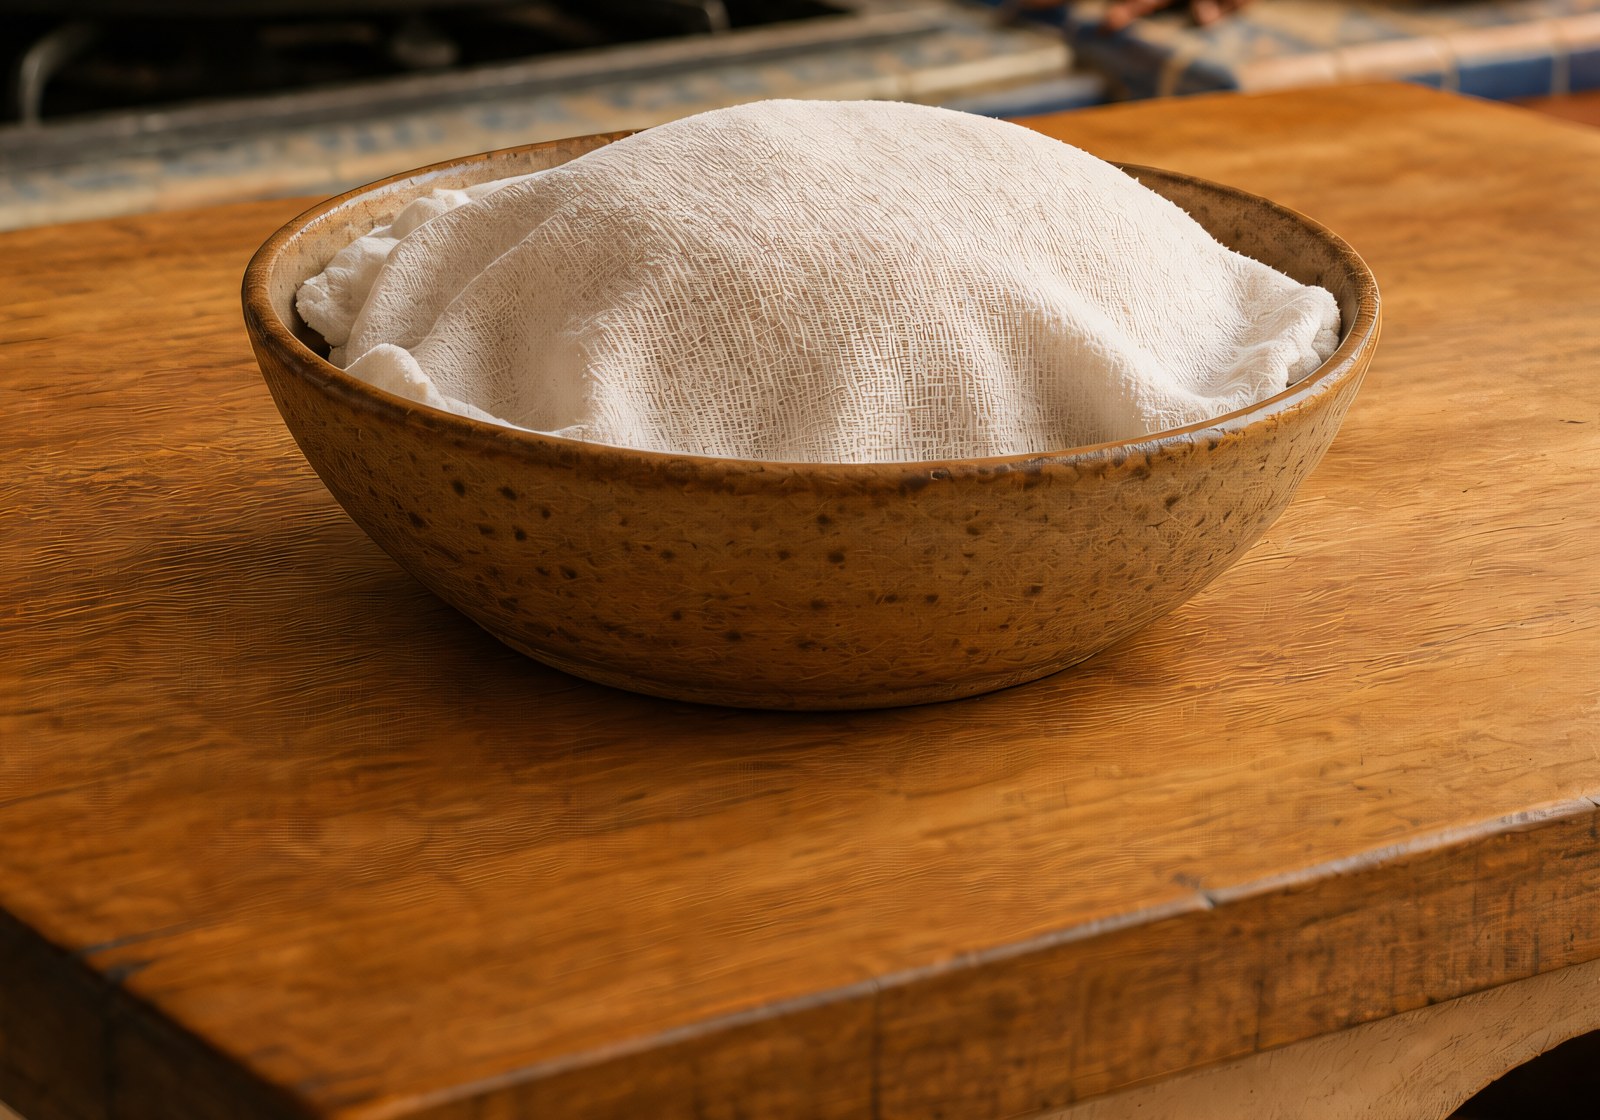
Cover the bowl with a damp towel and rest the dough for 30 minutes at room temperature. This is the step most home cooks skip and the one that decides everything. The corn flour needs time to absorb water all the way through. Without the rest, the surface feels ready but the centre is still dry, and the tortillas crack the moment you press them.
Heating the comal and pressing
-
While the dough rests, heat a dry comal or cast iron skillet over medium-high heat for 5 minutes. No oil. The pan is ready when a drop of water dances for 2 seconds before evaporating. You want it around 230C (450F), hot enough to flash-set the bottom of the tortilla. That traps steam inside and creates the puff.
-
Divide the rested dough into 12 balls of about 42 g each, rolling between your palms until smooth. Keep the balls under the damp towel so they don’t dry while you press.
-
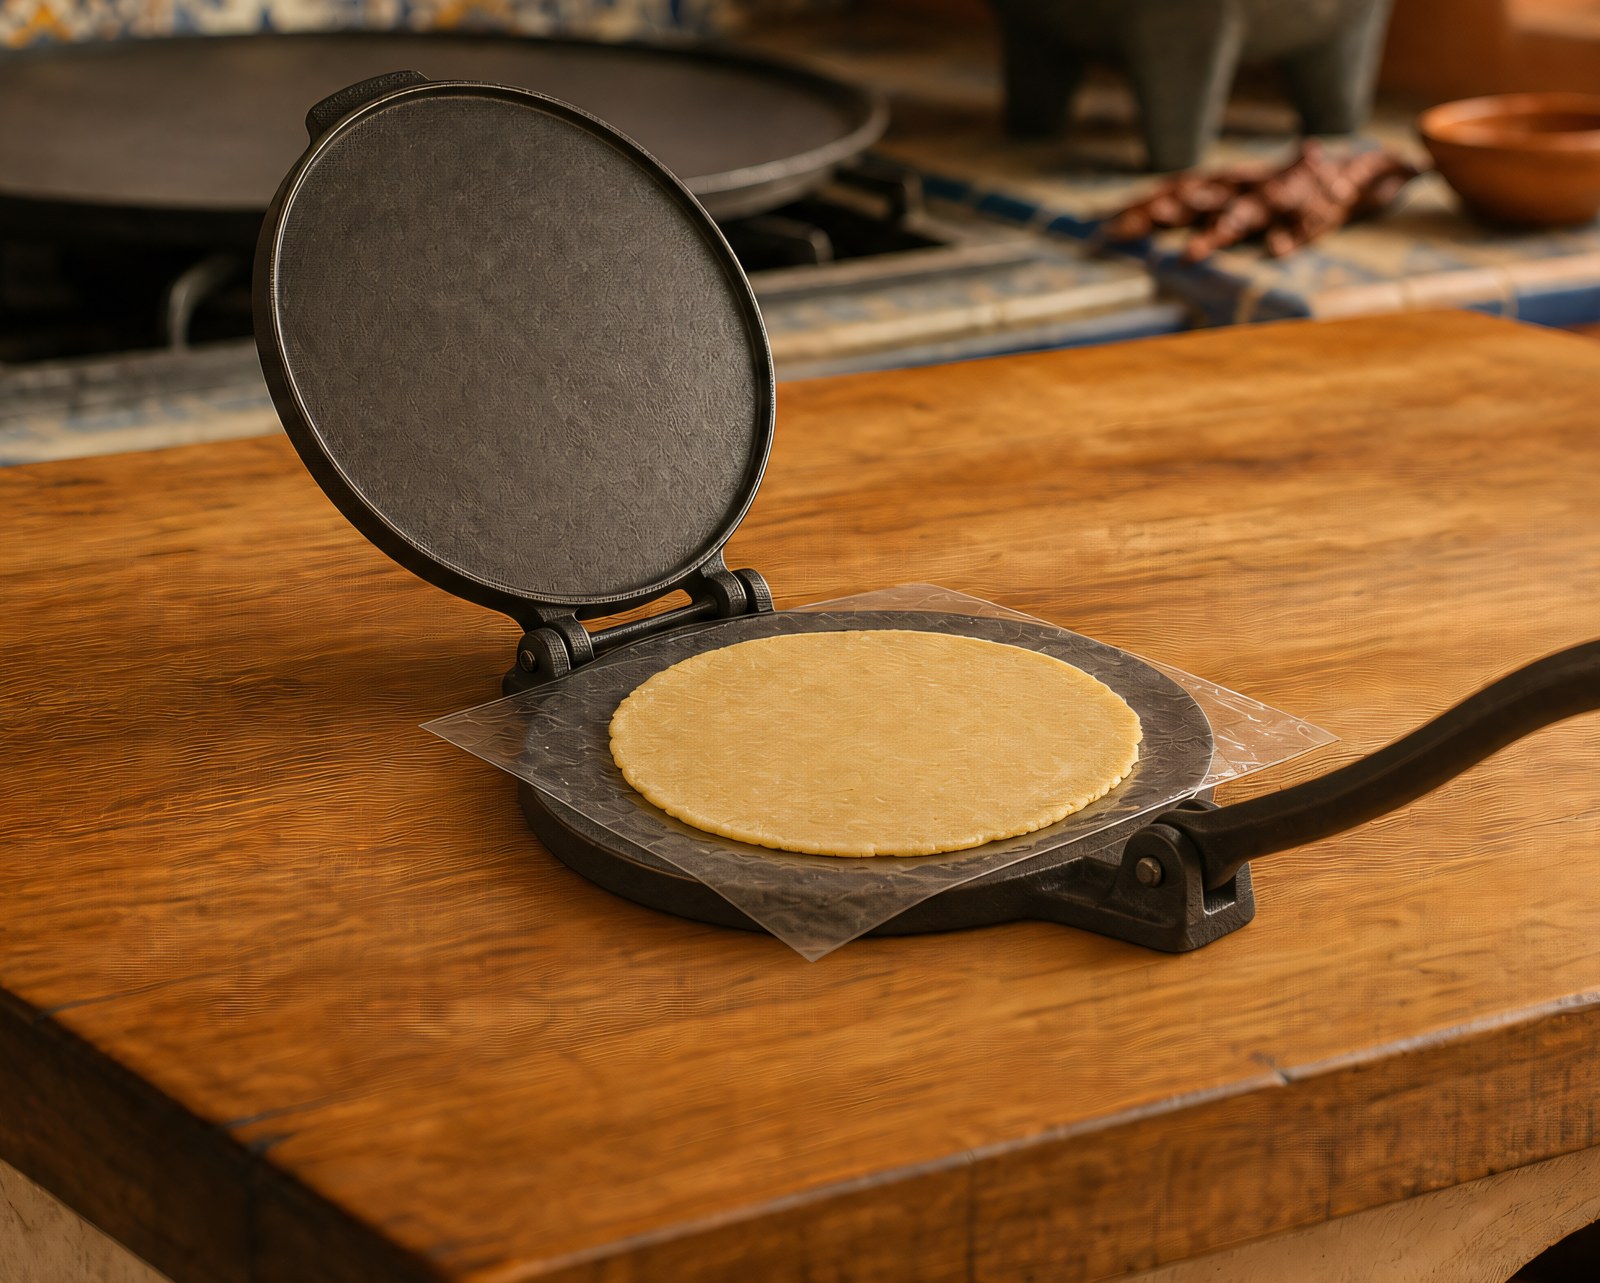
Lay one square of plastic on the open press, set a ball slightly toward the hinge, cover with the second square, close the press, and push the handle down firmly for one beat. Aim for 1.5 to 2 mm thick. Thinner tears at the edges; thicker leaves a raw centre that turns gummy on the comal.
-
Peel the top plastic away. Flip the tortilla onto your flat hand, peel the second plastic, and lay the tortilla on the hot comal in one motion. If it sticks to the plastic, the dough needs 10 g more water and another 5 minutes of rest.
The three-flip method (where the puff happens)
-
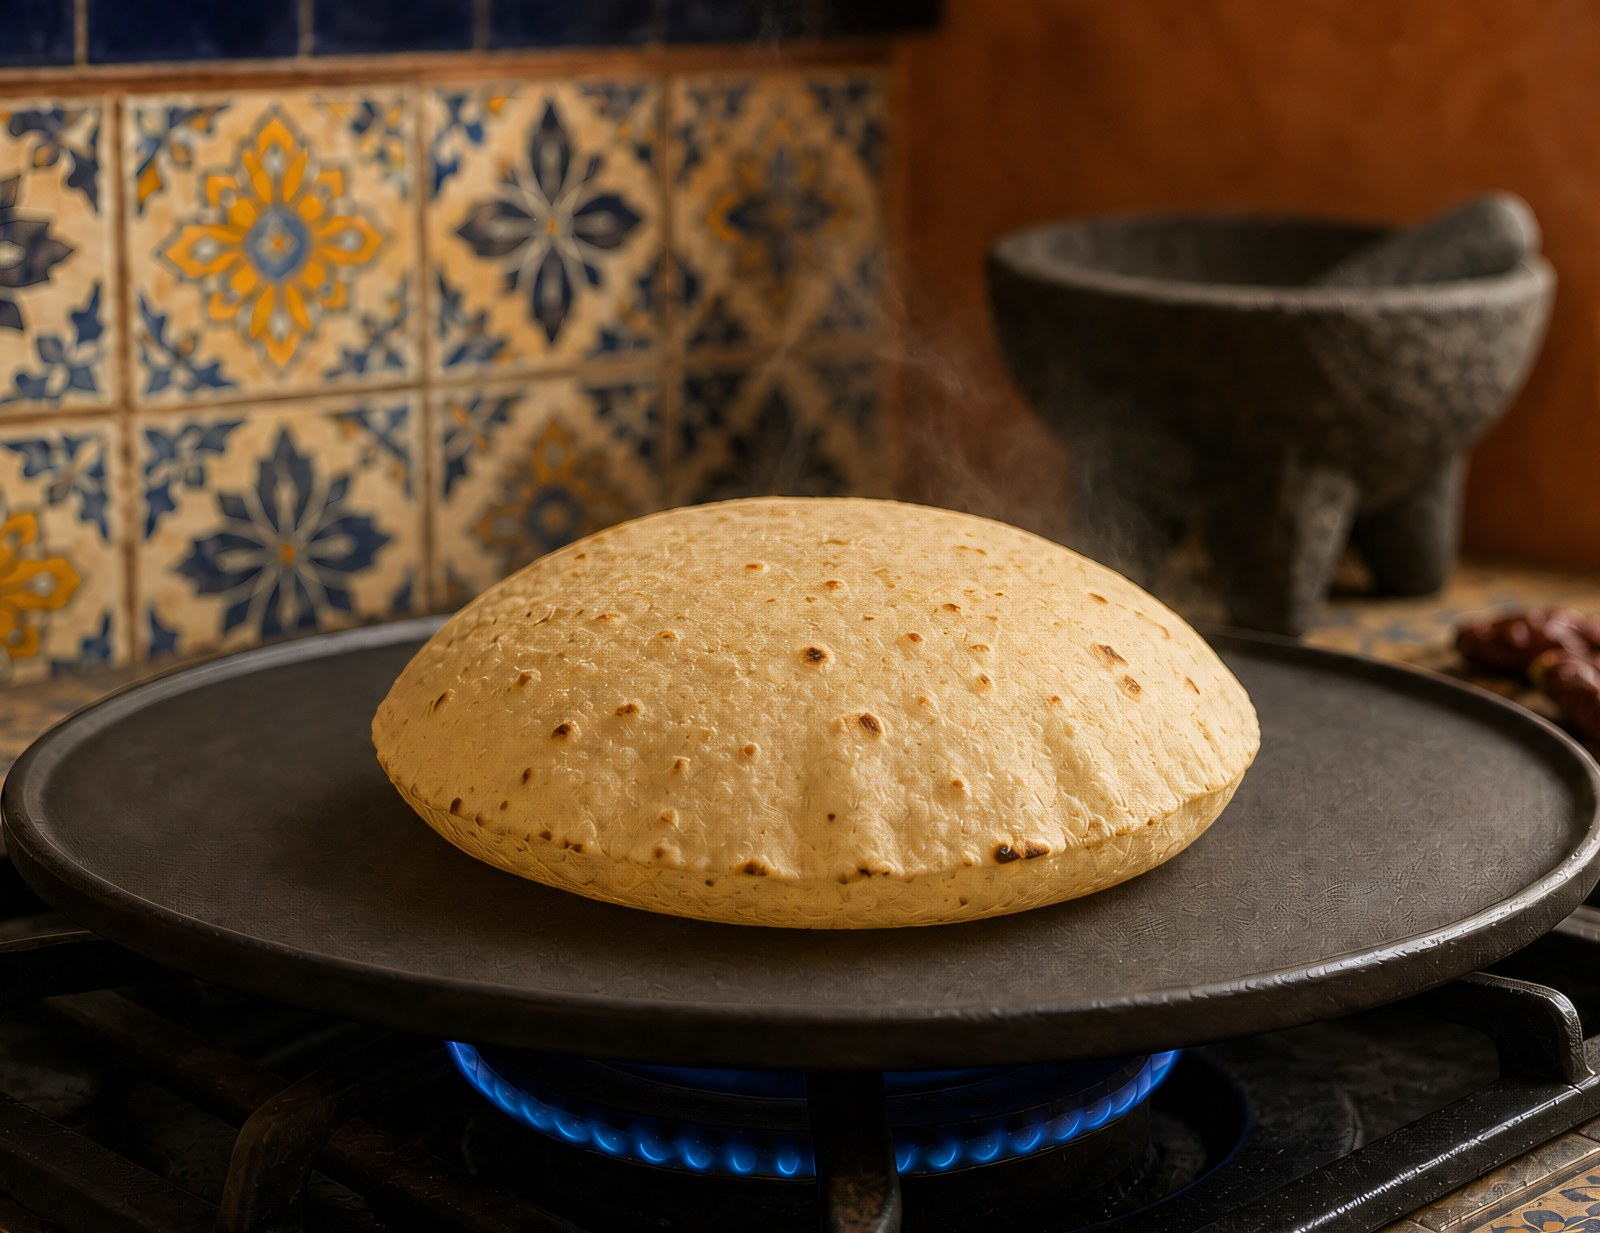
Cook with three flips. First side: 15 seconds, and it should release on its own when you nudge it. Flip, cook 45 seconds, until the edges dry and lift slightly. Flip back to the first side for 20 to 30 seconds, pressing gently around the perimeter with a folded towel. This is when the tortilla puffs.
-
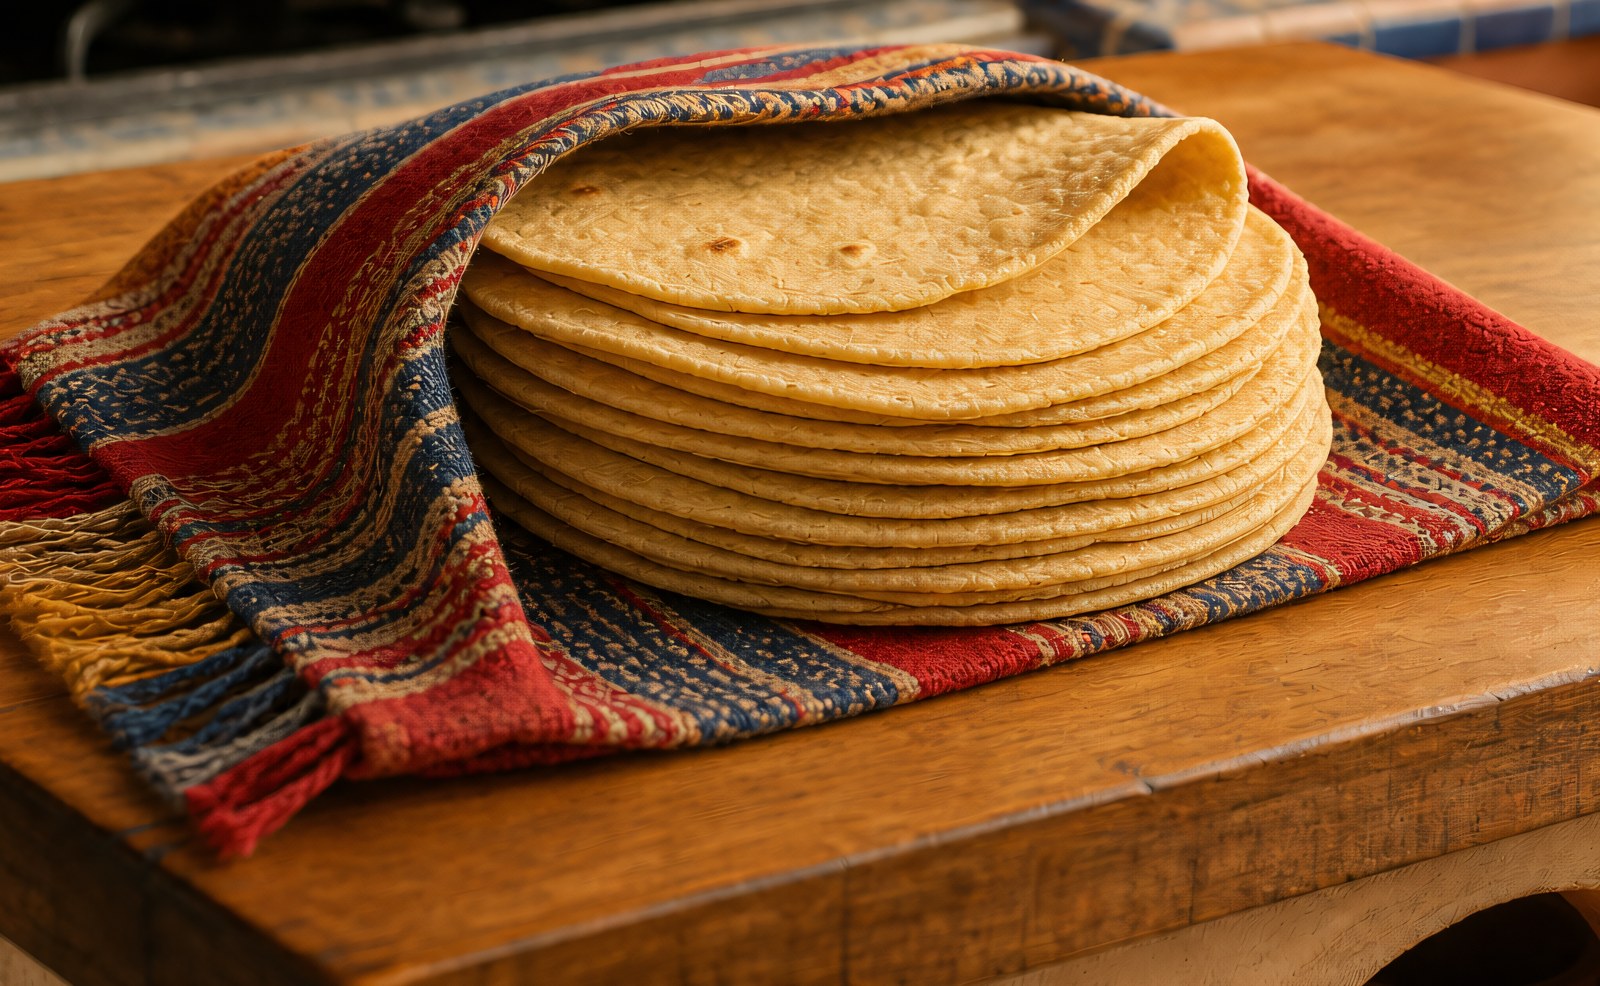
Move the cooked tortilla onto a clean cotton towel and fold the towel over the top. Stack each new tortilla under the same towel as you go. The residual steam keeps them pliable and soft for an hour.
When they don’t puff
Gummy centres mean the comal is not hot enough. Turn the heat up and wait until water dances before the next tortilla.
No puff at all usually points to too little water, too short a rest, or a press that is not closing flat. Test by pressing a small ball with your finger; if cracks appear around the edge, the dough needs more water.
Brands behave differently, and I keep all three in the cupboard for different things. Masienda heirloom blue corn drinks noticeably more water than Maseca; the last bag I opened needed 305 g for a 250 g batch before it stopped cracking at the edges. Use the table below as a starting point and adjust by feel.
| Brand | Texture | Starting hydration |
|---|---|---|
| Maseca | Fine, forgiving | 1:1.1 |
| Bob’s Red Mill | Slightly coarser | 1:1.1 |
| Masienda heirloom | Coarse, deeper corn flavour | 1:1.2 |
Keeping and reheating
Store cooked tortillas in a sealed bag in the fridge for up to 3 days. Reheat on the dry comal for 20 seconds a side. Never microwave them uncovered; they go leathery.
Leftover raw masa keeps wrapped in plastic in the fridge for 24 hours. Let it come back to room temperature and knead briefly before pressing.
What to serve with them
At my mother’s table in Puebla, fresh tortillas come out wrapped in a cloth-lined basket beside a clay bowl of frijoles de la olla and a salsa verde made with tomatillos and one roasted serrano. We eat them with tinga de pollo, with scrambled eggs and epazote, or torn into pieces and dipped into the bean broth. For something off the usual Mexican table, they also hold up beautifully torn around smoky, slow-smoked brisket the way Texas border cooks have done for generations. The drink is agua de jamaica on a hot afternoon, café de olla on a cold morning.
If you like recipes that lean on weight ratios and rest times the way this one does, the same discipline shows up in the Roman method for cacio e pepe and in the step-by-step Lombard approach to risotto alla Milanese, where small differences in hydration and timing decide whether the dish works at all.