
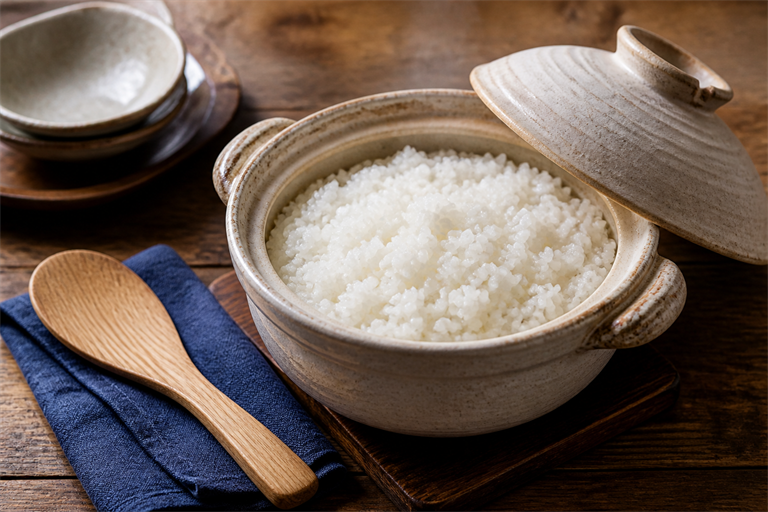
This stovetop method is for ordinary Japanese short-grain white rice in a heavy saucepan with a close-fitting lid. Start with measured dry rice and water, then judge the result after the covered rest. Brown rice, glutinous rice, rinse-free rice and specialist clay pots need their own package or equipment instructions.
Editorial note: This is a source-based cooking guide, not a report of a Today’s Chef kitchen test. The previous version’s crop-specific water quantities and fixed microwave reheating times have been removed.
Ingredients, equipment and timing
- 300 g uncooked Japanese short-grain white rice, approximately two level 180 ml rice-cooker cups
- 400 ml water for soaking and cooking, plus separate water for rinsing
- A heavy saucepan with a well-fitting lid, sieve, measuring jug and rice paddle or spatula
Plan on four side portions and roughly one hour overall: about 5 minutes to measure and rinse, 20–30 minutes soaking, time to reach the boil, 12–13 minutes on low heat and 10 minutes resting. The source method and quantities come from Namiko Hirasawa Chen’s stovetop rice guide.
The measurement distinction matters: 360 ml describes the volume occupied by the dry grains; approximately 300 g is their weight. A rice-to-water ratio stated by volume cannot be applied directly to grams of rice. Write “300 g dry rice, 400 ml water” beside your stove instead of remembering an unlabeled ratio.
Cook the rice
- Rinse and drain. Cover the rice with water, gently move it around and drain. Repeat with fresh water until noticeably less cloudy, then drain well. Kikkoman’s preparation guide describes rinsing until almost clear; there is no need to preserve milky water to protect sweetness.
- Soak. Put the rice and the measured cooking water in the saucepan for 20–30 minutes. Retain that water.
- Boil, then lower the heat. Bring to a boil over medium heat with the lid slightly ajar. Close the lid and cook on low for 12–13 minutes.
- Check and rest. Briefly check for unabsorbed water; if present, cover and cook a little longer. Remove from the heat and rest covered for 10 minutes. Gently fold with the paddle. These cooking stages follow the source method.
Set one timer for the low-heat stage and another for resting. “Cook for 13 minutes” starts after boiling, not when you first switch on the burner. If dinner has several components, prepare toppings during the soak and finish them during the rest; this gives the rice a clear place in the meal rather than making it an unattended afterthought.
Read the result before changing the recipe
After resting, take a small sample from the centre as well as the surface. Note whether the grains are tender, whether free water remains, and whether any scorching is confined to the bottom. These are different observations; writing only “sticky” does not give you enough information to choose the next adjustment.
If the rice is uniformly too firm, first recheck the measurements. If uniformly too soft, recheck for excess water. Zojirushi’s rice guidance identifies inaccurate water measurement as a cause of both outcomes, and dry stored rice as another possible reason for firmness. Its advice concerns rice cookers, but accurate measuring is also a useful first check here.
For the next batch, keep the rice, saucepan and timing the same and change one recorded factor. Do not change soaking, water and burner setting together: even a better result will not tell you which change helped. Use the rice measurement and troubleshooting worksheet for a more detailed comparison.
Serve and store safely
Serve with soup and vegetables, fish, tofu or another main dish. Portion leftovers into small containers and cool promptly, ideally within one hour. Refrigerate for no more than one day or freeze promptly after cooling. Reheat only once, until steaming hot throughout; microwave time depends on the portion and appliance. These limits follow the Food Standards Agency’s rice and leftover guidance.